
How to Install the Final POS WooCommerce Extension and Manage Your Store Seamlessly
Connect your WooCommerce store to Final POS and sync products, orders, and inventory in real time across your online and physical store.
Managing both a webshop and a physical store can be a challenge. Inventory gets messy, orders are scattered across systems, and customer data becomes hard to keep consistent.
That’s exactly why we built the Final POS WooCommerce extension: a seamless way to connect WooCommerce with Final and manage everything in one place. This integration allows you to sync orders, customers, and inventory in real time, keeping your online and in-store operations perfectly aligned.

In this post, we’ll walk you through:
What the WooCommerce extension is.
Why you need it.
What data syncs between WooCommerce and Final.
Step-by-step instructions to install and connect your store.
By the end, you’ll be ready to connect your WooCommerce shop and manage your entire business more efficiently with Final.
What Is the Final POS WooCommerce Extension?
The Final POS WooCommerce extension connects your WordPress webshop directly to your Final account. Once installed, your products, orders, and customers stay in sync between your online shop and your physical store’s POS system.
Think of it as a bridge between WooCommerce (your online store) and Final POS (your in-store system), giving you a single source of truth for your entire business.

Why Do You Need the WooCommerce Extension?
Running an e-commerce shop alongside a retail store often leads to common headaches: overselling, duplicate customer records, or endless manual stock updates. The WooCommerce extension from Final eliminates these issues by:
Keeping inventory accurate across all sales channels.
Centralizing customer data, so profiles are unified and easy to manage.
Importing orders automatically, saving time and reducing human error.
Simplifying operations, so your staff can focus on sales instead of spreadsheets.
With this integration, you can confidently scale your business while maintaining real-time control over your sales and stock.
What Data Syncs Between WooCommerce and Final?
The WooCommerce extension keeps your most important data synced automatically between your webshop and your Final account. Everything updates automatically in real time, so when something changes in one system, the other is instantly updated.
Here’s what syncs between WooCommerce and Final:
Products – Product details like names, prices, descriptions, categories, and images flow from WooCommerce to Final. Stock levels are automatically updated from Final POS back to WooCommerce.
Inventory – Your webshop stock is linked to your main POS outlet, so online and in-store sales reduce the same stock pool.
Orders – Web orders automatically appear in Final.
Customers – Customer profiles stay consistent and unified across both systems, eliminating duplicates.
Because syncing is event-based, you don’t need to run manual updates. Every time you sell a product, update stock, or add a new customer, the change is pushed across automatically in real time.
Installing the WooCommerce Extension in Manage
Getting started is simple. To connect your WooCommerce store with Final, you’ll first install the WooCommerce extension in Final Manage.
How to Install
Log in to Manage as a Company admin.
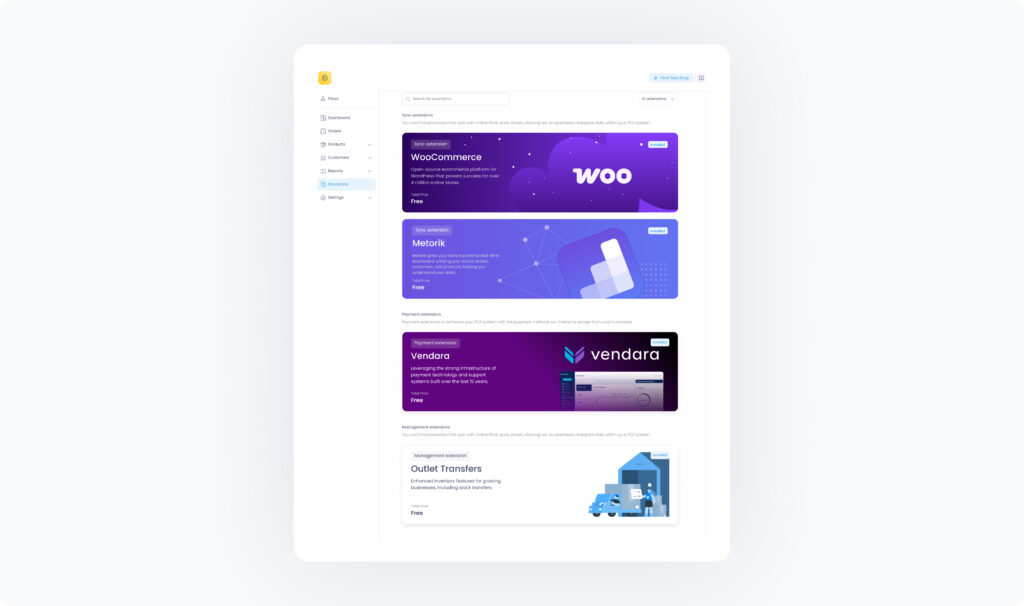
In the left-hand menu, go to Extensions.
Find the WooCommerce Sync extension in the list.
Click Install.
Learn more about installing the WooCommerce extension here.
Connecting Your WooCommerce Store with Final
Once you’ve installed the WooCommerce extension in Manage, you are ready to connect your WooCommerce store with Final and unify your online and in-person sales.
Follow these three steps to connect your online store and start syncing products, orders, and customers.
1. Install the Final POS Plugin in WordPress
In your WooCommerce site’s WordPress admin: Go to Plugins → Add New.
Search for “Final POS - Drag & Drop Point of Sale Builder” or download the plugin file directly from here.
Click Install and then Activate.
2. Activate the Plugin and Enter Your Key
In Final Manage, go to Settings → WooCommerce (visible after the extension is installed).
Copy the authentication key shown there.
In WordPress, open the Final POS plugin settings and paste in the key to authorize the connection.
Your WooCommerce store is now securely connected to Final.
3. Configure Sync Settings
After activation, set your sync preferences:
Choose which product categories to sync
Decide whether to sync customers
Choose how far back to sync completed orders
Once preferences are set, run the initial sync to complete setup. This sync may take an hour or more depending on the size of the data, so best to leave it and check back later when it's had a chance to complete.
Support
Need help? Our support team is here to assist you every step of the way.
You can reach us via:
Email: support@finalpos.com
Live Chat: Visit finalpos.com and click the chat icon in the bottom right corner.
Help Center: help.finalpos.com
Don’t hesitate to reach out if you have questions or need guidance, we’re here to help ensure your WooCommerce integration runs smoothly.