


How to Turn a Napkin Sketch Into a Functional Tablet Kiosk in 5 Minutes
Photograph a napkin sketch, upload it to Final's AI builder, and get a working tablet kiosk: drawn buttons become a live, data-linked checkout you can deploy to customer-facing tablets and handhelds.
 Mathias NielsenCEO, Final POS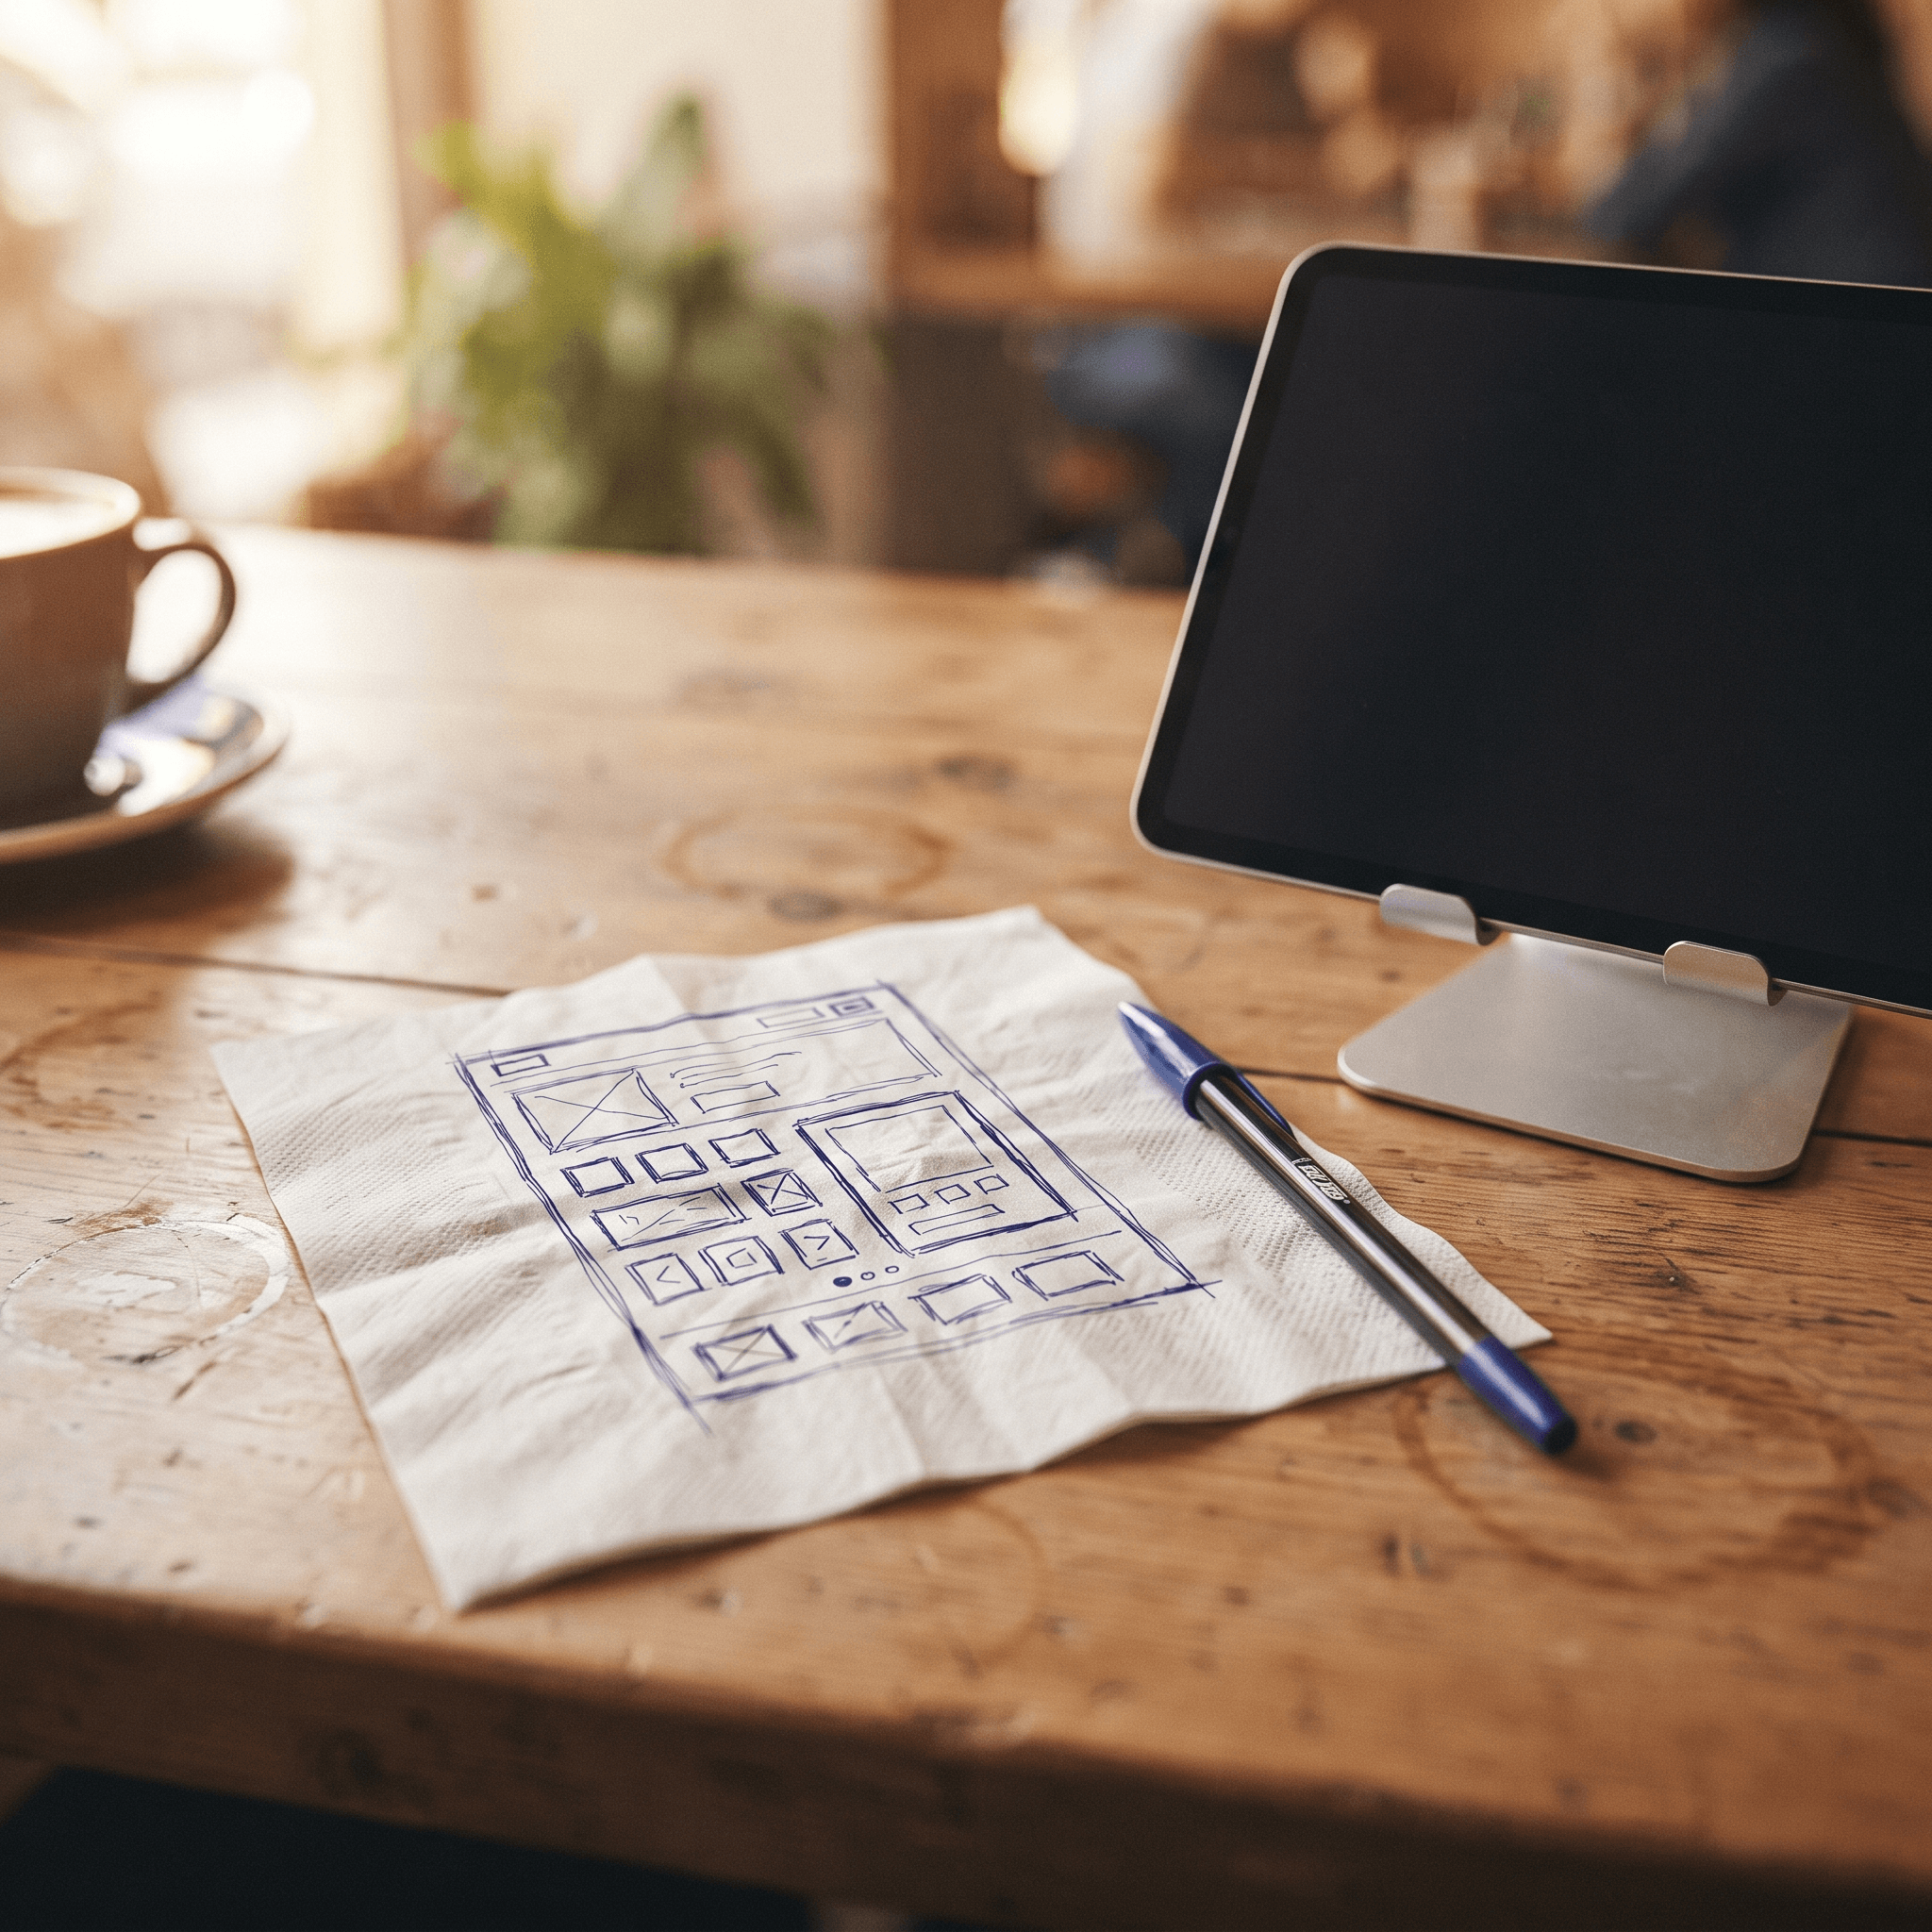
Sketch the screen you want on a napkin, photograph it, and upload it to Build, Final's AI builder. Build reads the napkin sketch, generates a working checkout flow that matches it, and opens a live preview you can tap through. Refine it by chatting, then deploy it to a tablet. That is the whole process. Here is how each step works, and where the five minutes actually go.
Why start from a sketch instead of a prompt?
Because layout is spatial, and sentences describe space badly. "Product grid on the left, cart on the right, big pay button in the corner" still leaves a dozen decisions open to interpretation. A drawing settles them instantly: what sits where, what is biggest, and what a customer sees first.
The Builder is prompt-based, so a written description works fine on its own. An image is simply the highest-bandwidth prompt there is. A few boxes and arrows carry hierarchy, grouping, and proportion that would take paragraphs to spell out, and they anchor the AI to your intent instead of a generic template.
How do you upload a sketch into the AI builder?
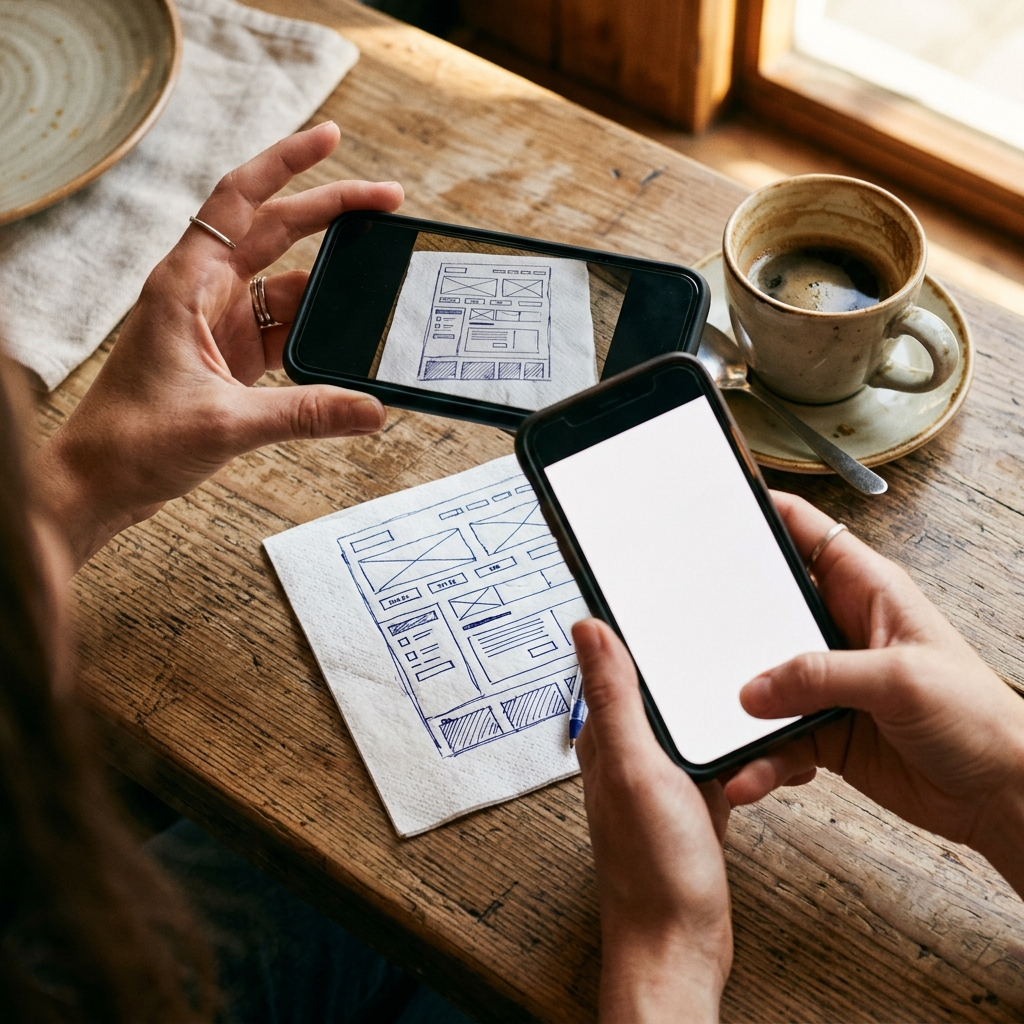
Photograph the sketch. A phone photo is enough. The clearer the boxes and labels, the better the first pass.
Open Build and attach the image. On the Build home, add the photo along with a line of context, such as "self-order kiosk for a coffee shop, customers use it themselves."
Watch the live preview. Build generates the screens, layout, and logic, then opens an interactive preview. Tap through it the way a customer would.
Refine by chatting. Wrong grouping? Missing a modifiers screen? Say so, and the preview updates.
A napkin is the charming version, but any layout image works as a reference: a whiteboard photo, a wireframe (a rough layout drawing) from a design tool, or a screenshot. And if you would rather work in your own tools, you can connect your own AI over MCP (a standard for wiring AI tools together) and build the same flow from there.
How does a static drawing become a data-linked checkout?
Build does not paste your sketch onto a screen. It rebuilds the drawing as software wired to your store. Each rectangle becomes a live element bound to real data: the product grid pulls from your catalog, the cart applies your taxes, payments run through Final Pay, and receipts print. That connection also works offline, so the kiosk keeps taking payments when the network drops.
In practice, the button matrix you drew becomes an active checkout matrix. Tap the box you labeled "latte" in the preview and it adds a real product at a real price, and the sale lands in reports that reconcile (match your actual payments) instead of a spreadsheet you maintain by hand.
That is the line between a mockup and a point of sale. A design tool gives you a picture of a checkout. This gives you the checkout, which is the real difference between a POS with AI features and a POS an AI can build.
How do you optimize for kiosks and handheld terminals?
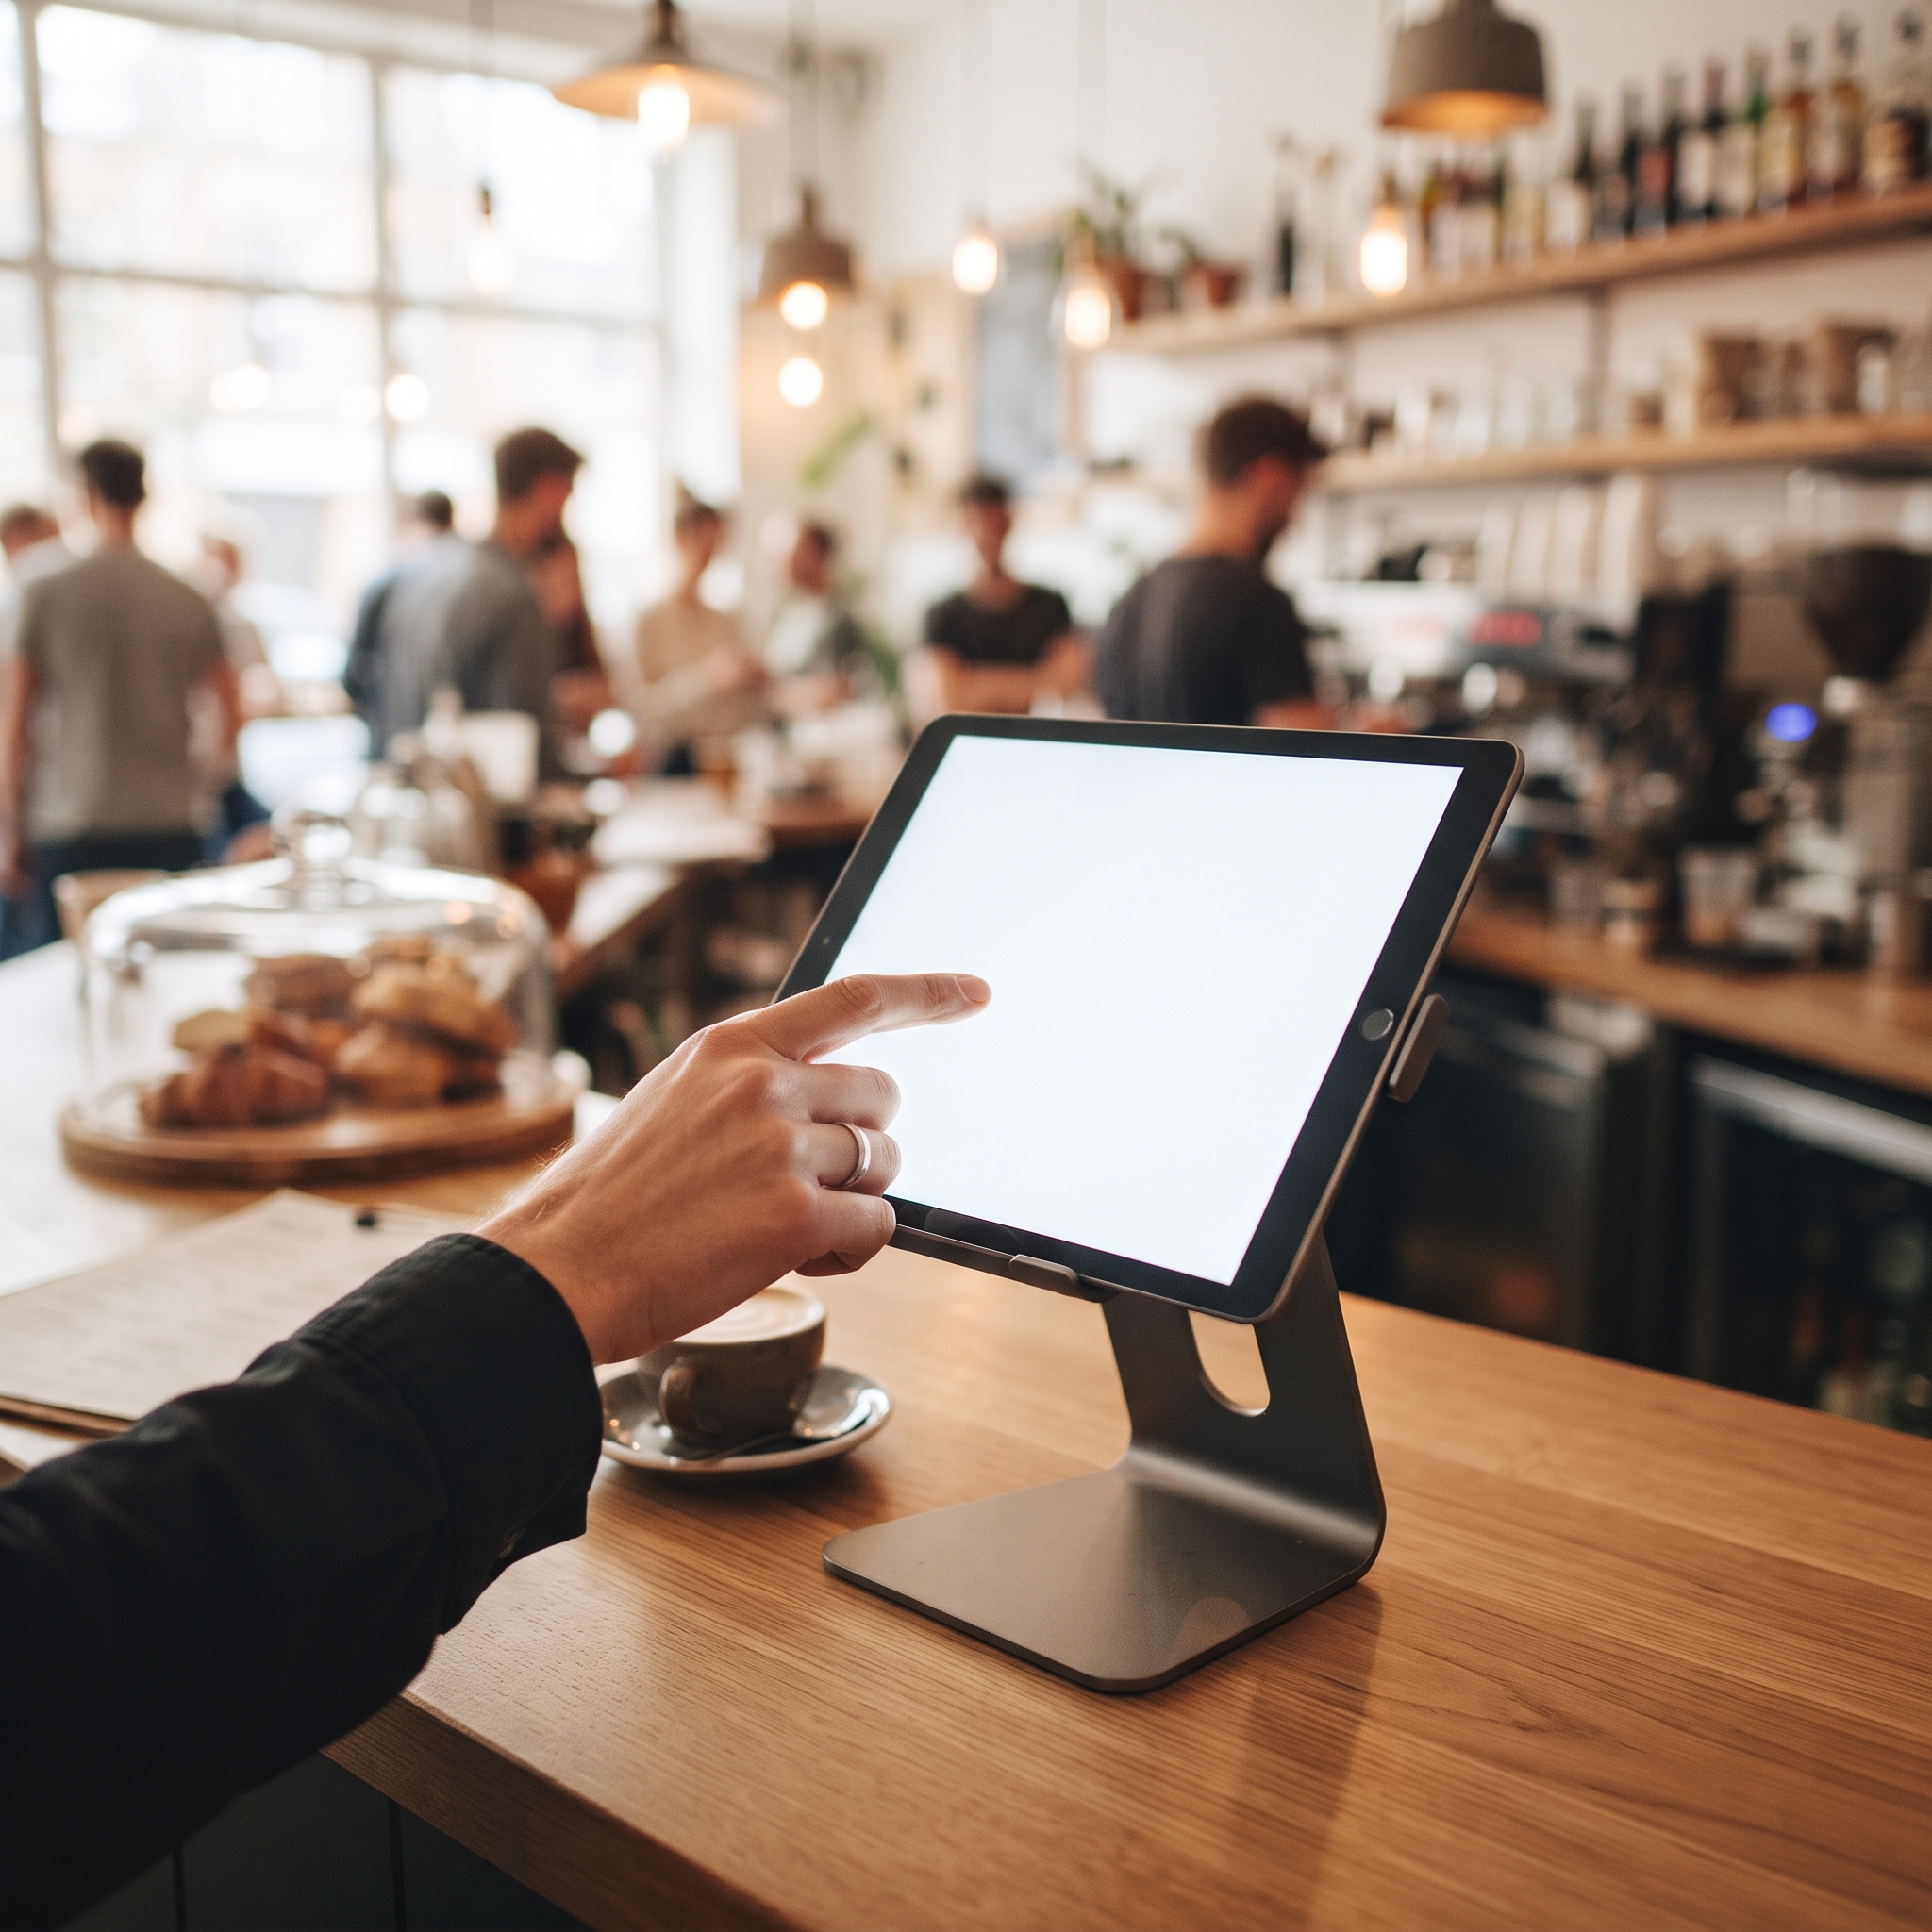
Tell Build what hardware you are targeting, up front. The same sketch should produce different flows for a counter desktop, a customer-facing tablet, a handheld, a kitchen display, or a menu board, and the builder adjusts when you say which one you mean.
For a customer-facing restaurant tablet, the users are patrons, not trained staff, so the design rules change. Keep every screen to one decision. Make touch targets big and the next step obvious, because a customer gets zero onboarding. Put that in the prompt directly: "customers order themselves, so keep choices per screen minimal and buttons large."
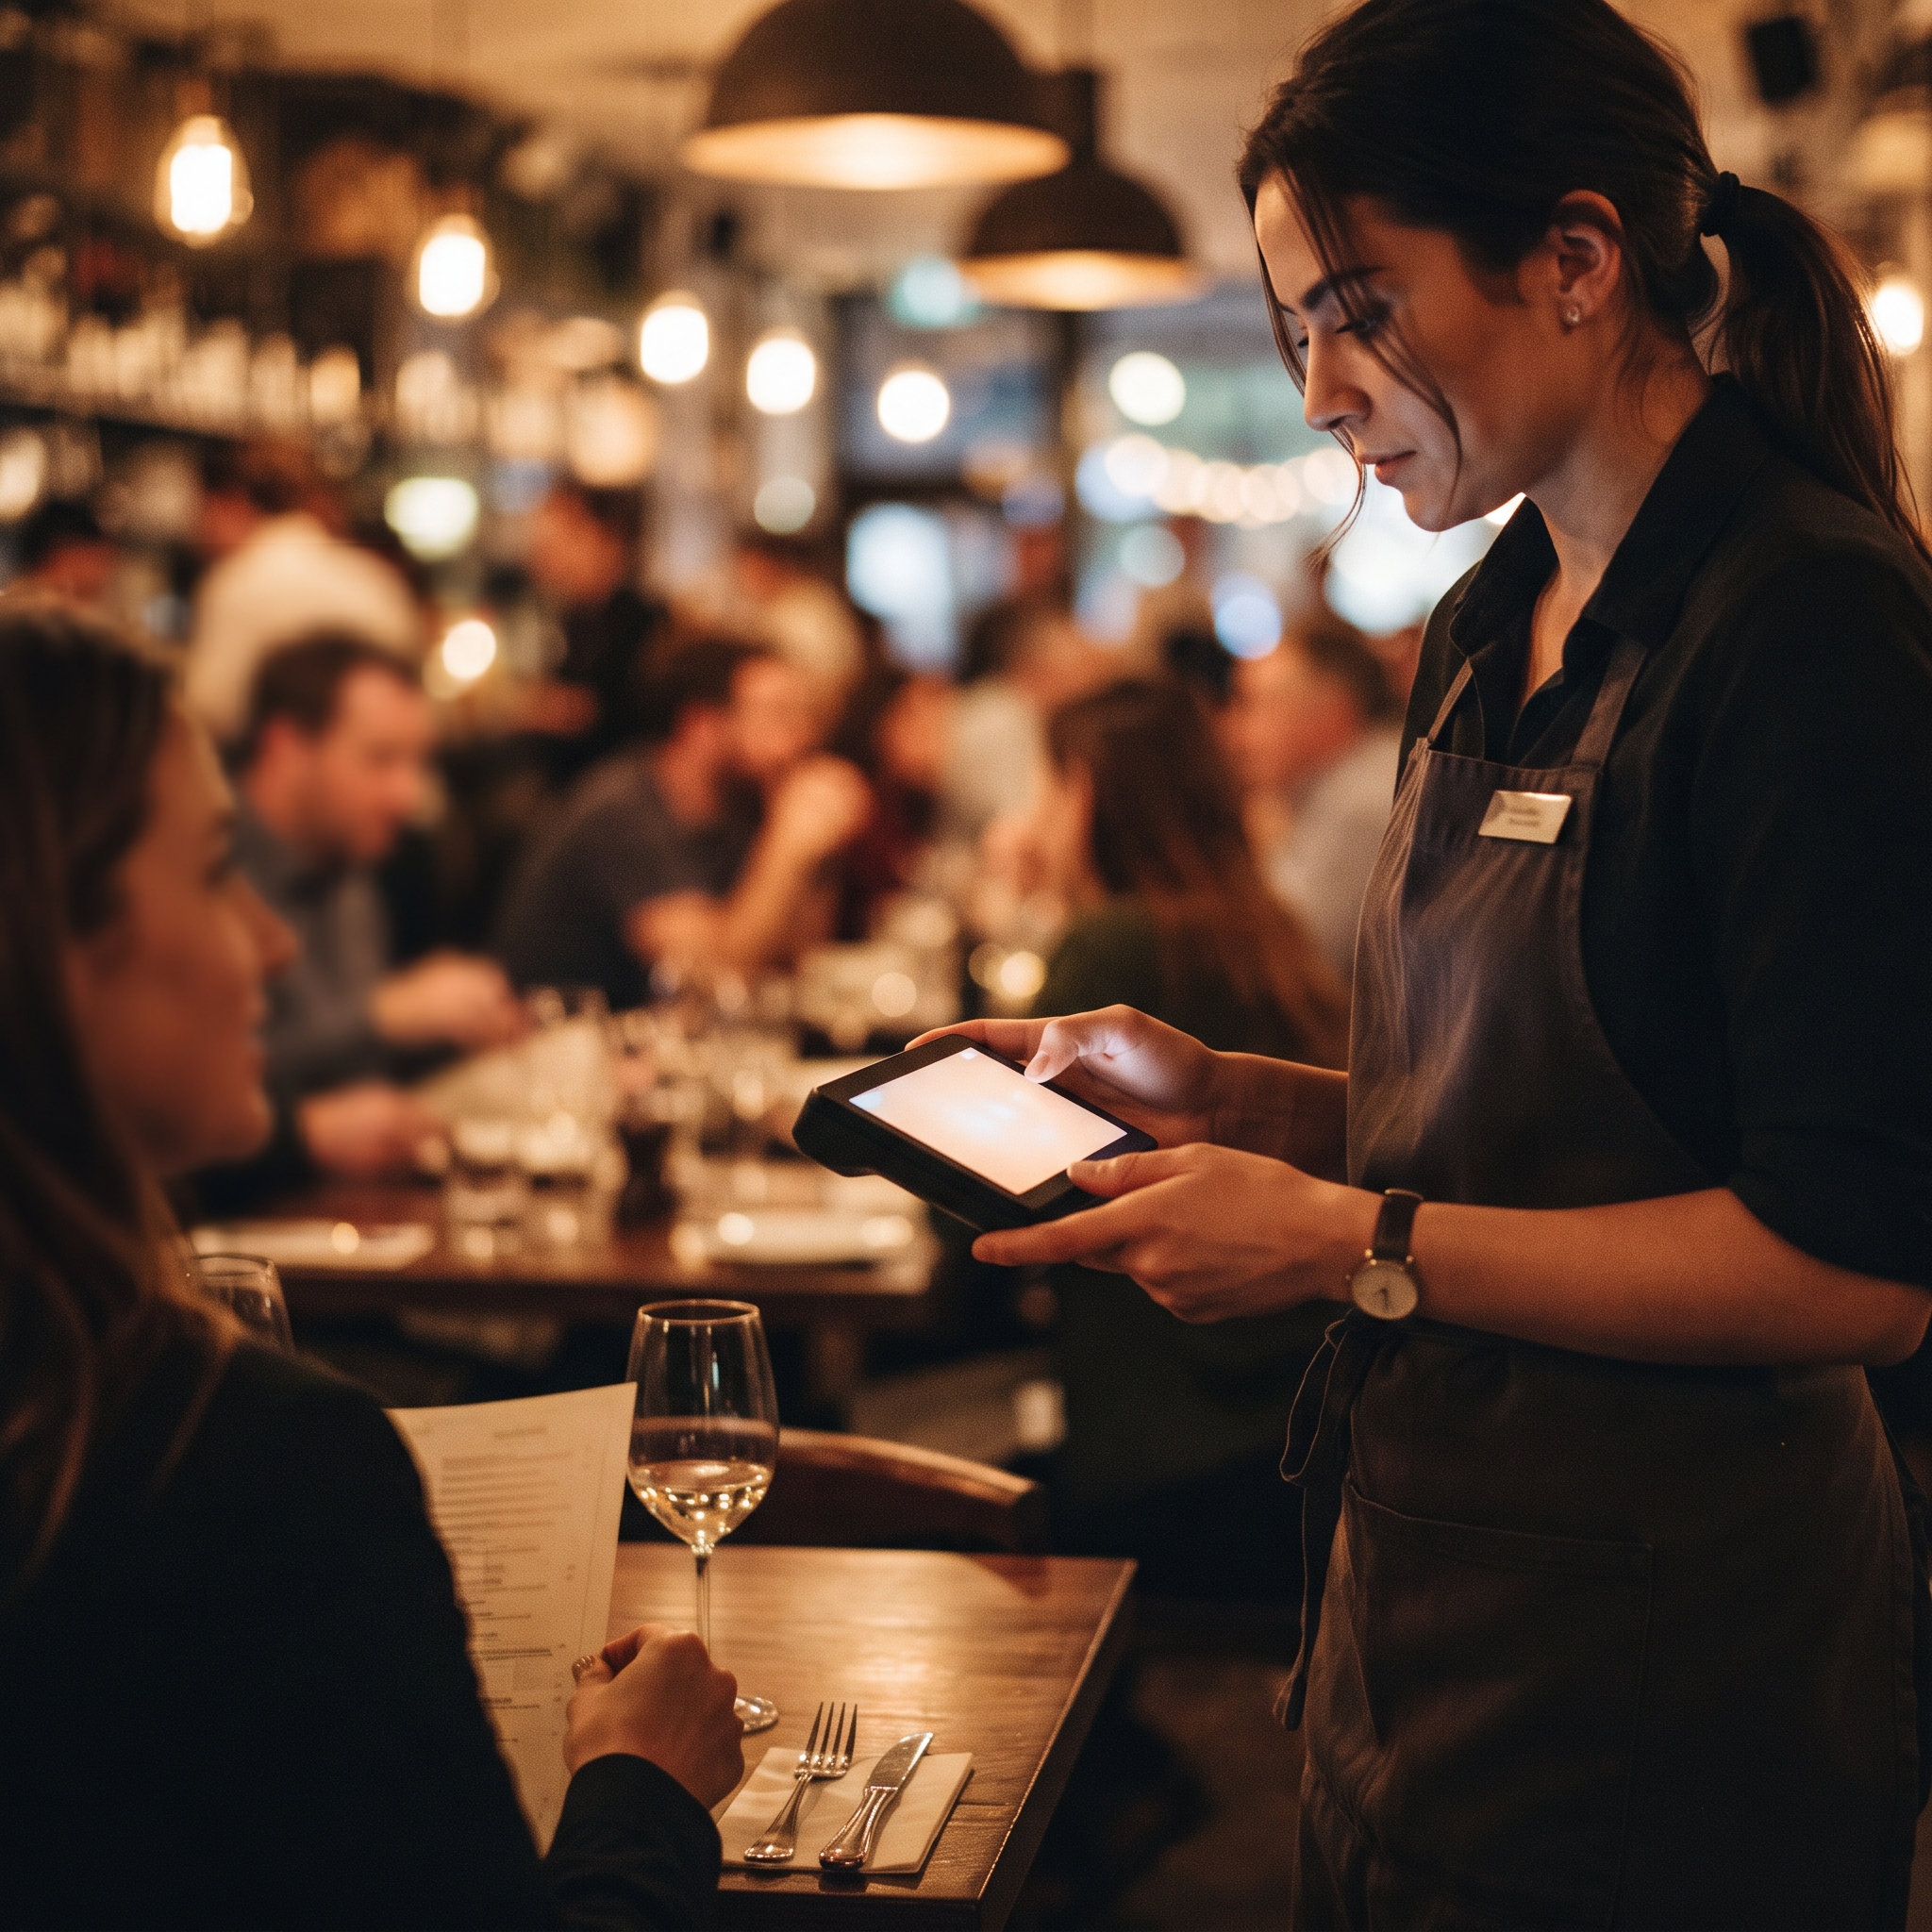
Handheld terminals flip the constraints: one-handed use, the most-used buttons within thumb reach, and short flows a server can finish tableside mid-rush. Decisions like tipping can move off your screen entirely, since tip prompts can live on the card reader.
Deployment is the same in every case. A flow deploys to your stations, and any compatible Apple or Android device running the Final POS app can register as a station. For card-present payments, pair a certified reader through Final Pay.
So, can you go from napkin to kiosk in five minutes?
A first working version, yes. Photograph, upload, and a functional flow tied to your catalog shows up in a live preview within minutes. Production readiness takes longer than the headline: budget a refinement pass, a test run, and ten minutes watching a real customer use it before you bolt the tablet to the counter. That is still an afternoon, not a six-week implementation project.
Rule of thumb: if a stranger can read your sketch and tell you what the screen does, the builder can build it.
Get started with a free Build plan and your worst napkin.
Frequently asked questions
Does the sketch need to be neat?
No. A phone photo of a rough drawing works. The clearer the boxes and labels, the closer the first draft lands, and anything the builder gets wrong you fix by chatting.
Can I upload a wireframe or screenshot instead of a hand drawing?
Yes. Any layout image works as a reference: a napkin sketch, a whiteboard photo, a wireframe from a design tool, or a screenshot of a layout you like.
What hardware does the finished kiosk run on?
Any compatible Apple or Android device running the Final POS app can register as a station. For card-present payments, add a certified reader through Final Pay.
Do I need to know how to code?
No. Build is prompt-based: you describe what you want, or upload an image of it, and refine by chatting. If you prefer, you can connect your own AI tool over MCP and build from there.
What does it cost to build a kiosk this way?
Build runs on credits, with a free tier to start. The POS itself has no monthly software subscription; merchants pay per transaction.